Colour Kite
GOALS
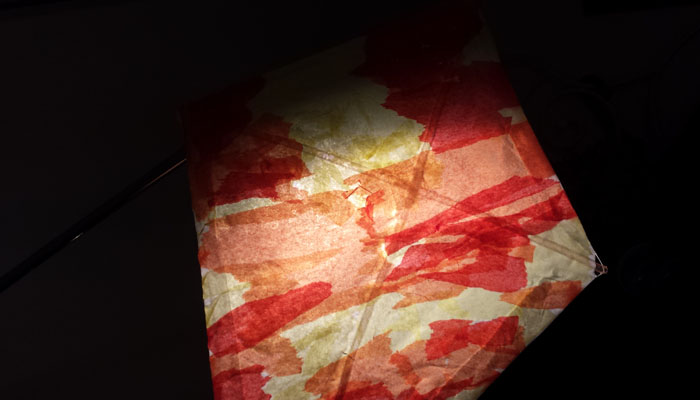
Participants will be introduced to, or strengthen their understanding of, how colour creates mood. Through discussion, reflection and the making of a model kite, participants will explore analogous and cool vs. warm colours.
AGES: 8 – 12 (Grades / Year 4 – 7)
TIME: 1 hour (activity) (+ 1 hour if assembling kite frame and base)
MATERIALS
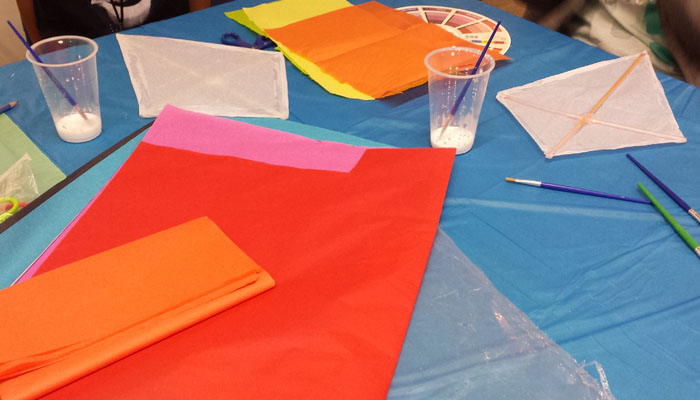
Straw, Tape, Scissors, thread, tissue paper in many colours, school glue, cups, paintbrushes
ASSEMBLY OF MODEL KITE
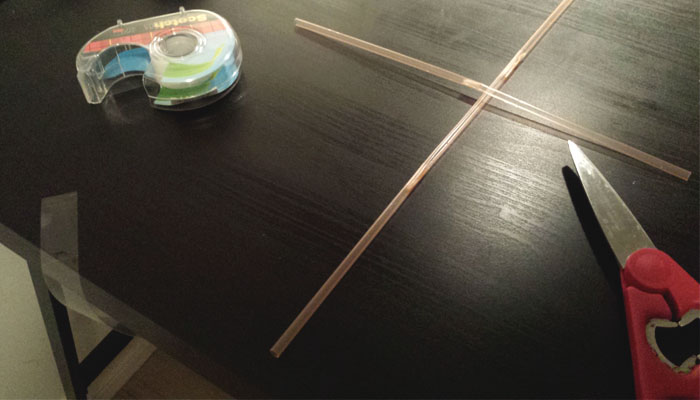
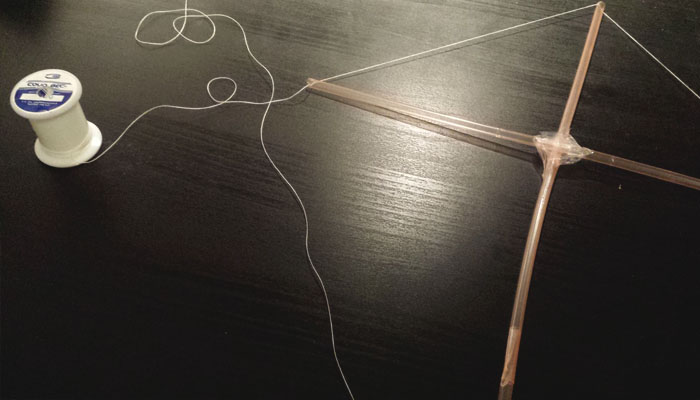
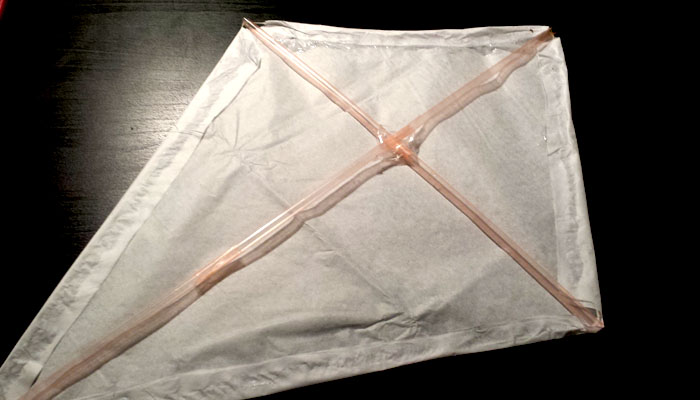
KITE FRAME: A model kite frame is simple to make and students with steady hands may make these themselves. Firstly, lay two straws in a cross formation and secure their position with clear tape (a hot glue gun may also be used). At each straw end, make a small cut with a pair of scissors that splits the straw ends in two. These cuts will hold your string. Next, take a very long piece of string and place one end into one of the straw cuts (the cut should hold the string tightly. If your cut is too wide, you may need to cut it off and try again). Repeat this action as you wrap the string around the kite frame twice. Knot the ends of the string together at the last straw cut.
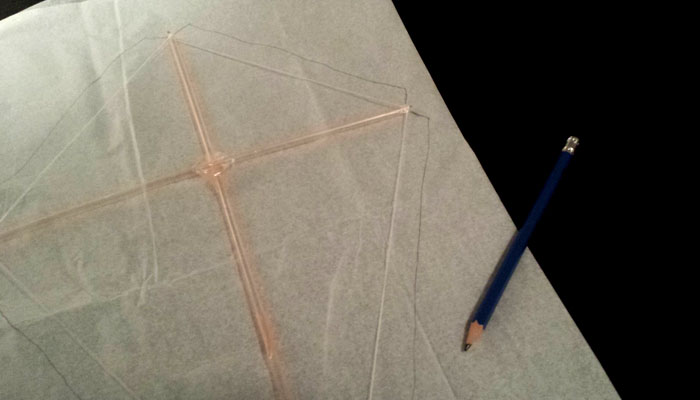
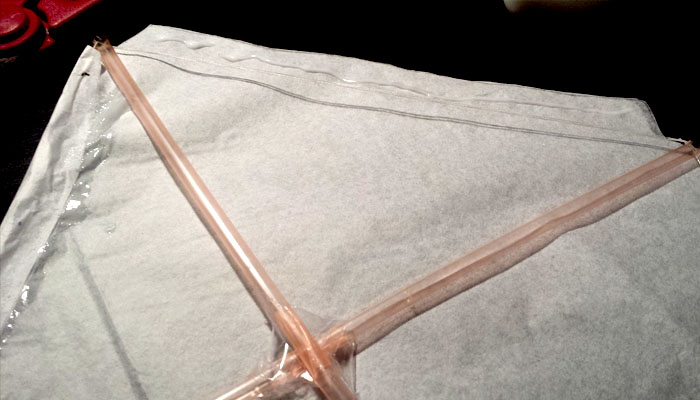
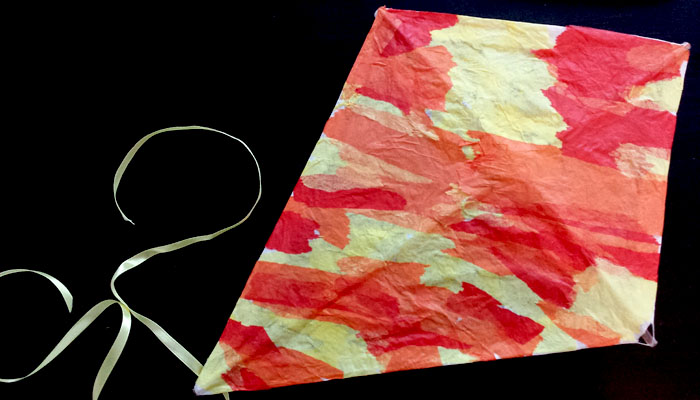
KITE BASE: Colours of tissue paper will be painted onto the kite base. The kite base is added to the kite frame by placing the kite frame on top of a double sheet of white tissue paper and loosely tracing around the kite frame (leaving space for flaps along each edge). Cut out the tracing, place it on top of the kite frame and wrap it’s flaps around the sting. Secure all flaps with school glue.
PROCESS
This activity is fun to accompany a discussion on colour and can also introduce participants to fine painting with a paintbrush.
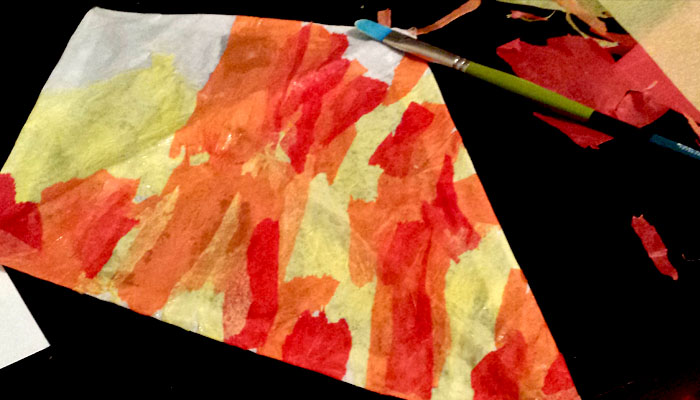
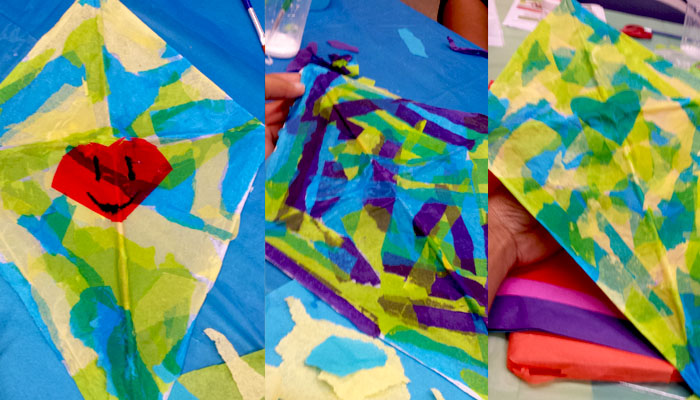
This activity can work with any grouping of colour like, though I mainly use it to model analogous colours – specifically, groupings of 3 colours that are next to each other on the colour wheel. Painting the tissue paper onto the kite follows the same action as traditional painting. Instead of paint, you will use a mixture of glue and water (about half and half). Rip and lay strips of tissue paper onto the kite and, keeping the brush wet, paint down each strip with the glue/water mixture. This process is continued until the kite surface is completely covered. Ribbon and additional string may be added if you wish to hang the kites up!
FUTHUR APPLICATION: Kites in History and Science
Before my students and I speak about colour, I like to share stories about the roles kites played in history. Kites have served many purposes, but most notably, they have been used to share and promote messages (like art does) and inspire the creation of airplanes. Historical lessons or ones relating to forces in the air (more information here from NASA) can follow this activity.