Creating Space
GOALS
How is space created in an image? This activity breaks space down in 3 ways: what’s furthest away (background), what’s a little bit closer (middle ground) and what’s right in front of us (foreground). By creating imagery on three layers, participants will learn how various sizes of images on different layers work together to create space, or depth, in a picture.
AGES: 8 – 13 years (Grades / Year 5 – 8)
TIME: 2 Hours
MATERIALS
Cardboard, transparencies (acetate sheets), construction paper, scissors, drawing utensils, markers, glue stick, old newspapers and magazines
PROCESS
(1) It may be helpful for participants to reflect internally or by looking around at the size of objects close and far away from them. When they compare the difference – what do they see? For example, though a pile of exercise books may be smaller than a door, if the books are next to the viewer, do they really look that small? Could they appear as wide as the door?
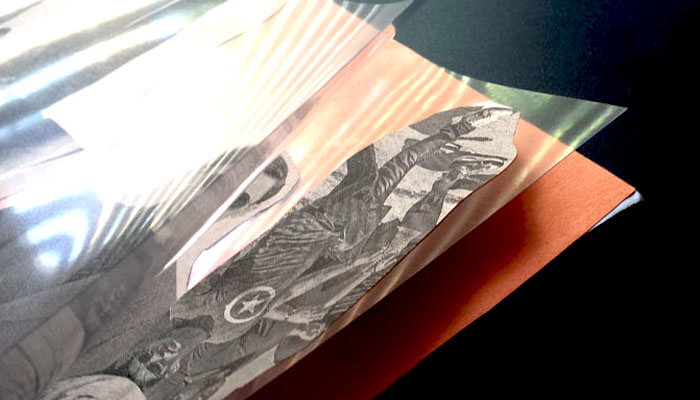
(2) This first step of this activity is to make a work board – this is the tool that holds the layers of space together. To make a work board, layer two transparency sheets on top of a similarly sized cardboard cutout. Secure these layers together by wrapping one end of the bundle with strong clear tape.
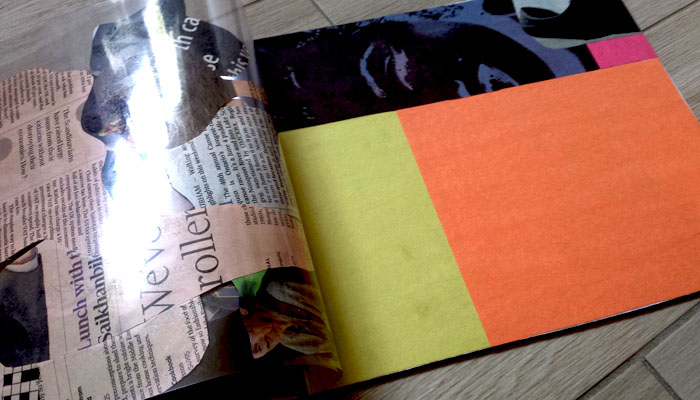
(3) This activity can be abstract (ex: shapes and lines) or realistic (ex: trees in park). First, fold over the top 2 transparencies and start with the background (the cardboard). The background will need to be fully covered and may be done by cutting out images/shapes (from a newspaper or personal drawings) and gluing them on – blank paper may also count as a covering!
(4) Once the background is complete, imagery may be added to the two transparency sheets – the middle ground and foreground (keeping in mind size, proportion and detail). Participants may title their pieces and share explanations of what they added to each layer, and why, with the rest of the group/class.
FUTHUR APPLICATION: Image Composition with Technology
For an older class, or program where access to technology is available, this activity may be completed on a computer with image editing software (such as Adobe Photoshop or Illustrator). On digital transparent layers, participants can create and layer their digital designs (made with pen or brush tools), or even import and layer digital photographs they may have taken (playing with opacity, cutting/erasing and scaling).